Smart mirrors deliver what you need in a minute right there in front of your eyes. You are seeing the weather. There is your calendar. You hear news. It improves your routine. It incorporates technology into home decor. You do not have to spend a lot of money. You can construct it by yourself and completely customize its features.
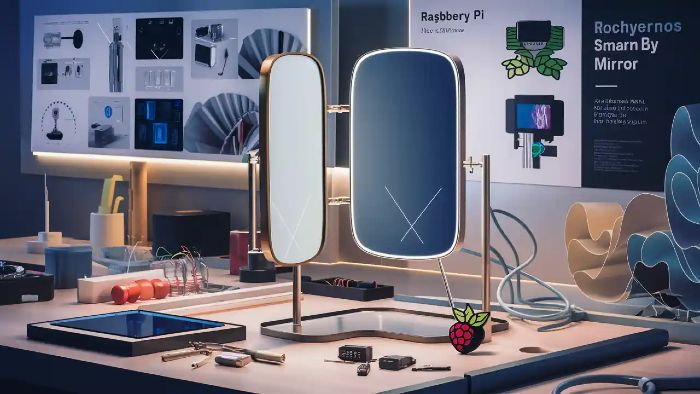
What is Smart Mirror
A smart mirror incorporates a screen and two-way glass. You can see your reflection just as though you are looking into a normal mirror. It also shows digital information. The glass shows what is on the screen. You have control over what shows. You are able to show time. You are able to show reminders. You are able to show smart home information. All it can be made personal.
If you’re facing network issues on Windows XP VirtualBox VM check out our guide to fix it. For email migration from Lotus Notes to Outlook without data loss see our Lotus Notes vs Outlook migration tips. If you’re looking for a tablet for seniors consider the best tablet for elderly with large fonts and easy apps to make tech easier.
The Reasons to Create Your Own Smart Mirror
A smart mirror is expensive to purchase. A simple one can be constructed at less than fifteen dollars. DIY makes you flexible. You decide on the size. You choose what you display. You get to learn as well. It is an awesome technology initiative. You create something usable. You find it delicious daily. It even makes your room intelligent and elegant.
Applications of Smart Mirrors at Home
Smart mirrors are suitable in most areas of your house. In each room, there is a different approach to using the mirror.
Bedroom
Make it a digital assistant. Look at your activities when preparing. Look at the weather, take outfit. To make your mornings smart, add your music or podcast.
Bathroom
Brush and read news. Put your plan in view as you prepare to propel it. Protect it with fog spray and acrylic coating.
Hallway
Check traffic warnings before driving out. Produce your diary and list. Keep it close to the door to have a genius exit strategy.
Kitchen
Use it to show recipes. Display cook timers. Include day goals or shopping lists widgets.
What Are the Supplies Required to Construct One
You do not require costly tools. All you have to do is just some simple parts and time.
List of Hardware
- Raspberry pi 3 or 4
- Old or monitor laptop screen
- HDMI cable
- Power adapter
- USB keyboard keyboard and mouse
- Acrylic glass or two-way mirror
- Plank or metal support
- Wi-Fi dongle
- Screws, glue and wire tape
Software Requirements
You will operate on Raspberry Pi OS. Install MagicMirror 2 as a display software. Its settings may be adjusted by editing its config.js file. Edit the code using free code editors or compile it on terminal. The platform is versatile and easy to use.
Buying the right monitor
The most crucial element is the monitor. Select an animated one with that has wide borders. The brighter the screen, the more noticeable the widgets. The size of your screen must fit your frame. Old monitors are okay. Disassemble their shells. Use spare parts where available. Useful wires or connectors should not be discarded.
For teachers looking to enhance offline learning explore the best quiz apps for offline classrooms. If you’re into DIY projects try our guide on how to build your own smart mirror with Raspberry Pi. Finally if privacy is your concern learn how to self-host Bitwarden alternatives for better control.
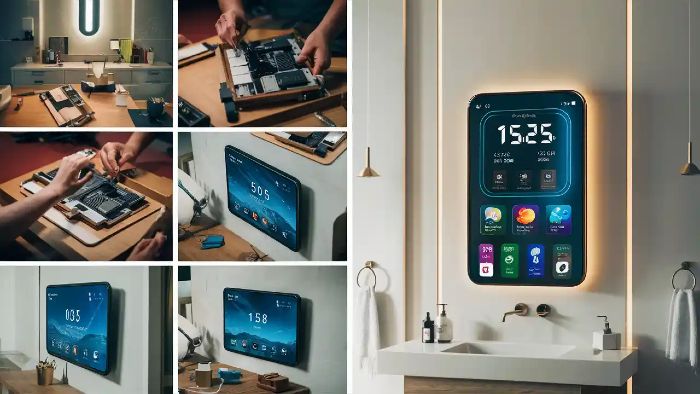
How to Build Your Smart Mirror Step by Step
Step 1. Make ready the Monitor
Unscrew the backside. Peel off plastic padding or metal cover. Protect the screen panel. Take out the speakers when they are not required. Record the size (specific). Clean it. Test and proceed to the next step. Ensure that the HDMI port is not a problem with the Raspberry Pi.
Step 2. Construct or Obtain a Frame
You may purchase a ready frame or construct one with your hands of wood. Ensure that the frame would pass both the monitor and the mirror. Airflow should be permitted through the frame. It must also conceal wires. Be strong using plywood or MDF. Polish or paint it to the tone of your room. Padding can be added where required to cushion internal parts.
Step 3. Apply Two-Way Mirror Set the Two-Way Mirror
Slide in the two way mirror on the front side. It must lie flat. It can be made of acrylic to be light or made of real glass to be of quality. Ensure that it gives a clear reflection. Wash and dry in a clean manner and seal. Make it smudgel free. Glue it or fasten it (with clips) so that it does not move.
Step 4. Install a Monitor and Raspberry Pi
The screen should be behind the mirror. Align in a manner that display shows through centre. Hook up the Raspberry Pi to HDMI. Screw it down or tape it. Secure everything with cable ties, or run with hot glue. USB ports should be accessible. Do not obscure the power slot.
Step 5. Install Magic Mirror 2 on Raspberry Pi
Power up your Pi. Installation through keyboard and mouse. Install Raspberry Pi OS. Now launch terminal. Paste the installation command of MagicMirror2:
bashCopyEditbash -c "$(curl -sL https://raw.githubusercontent.com/MichMich/MagicMirror/master/installers/raspberry.sh)"
Step 6. Change the Configuration File
Visit config / config.js. It can be any code editor. Add modules or subtract them. Set your place. Modify the design. Switch between expressing time or language. The examples can be found in full in the MagicMirror forum. Once saved restart the software.
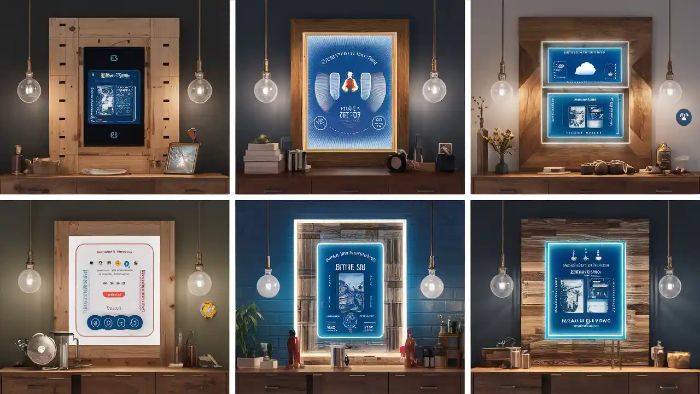
Features You Can Add to a Smart Mirror
MagicMirror 2 provides numerous free modules. You can personalize your mirror to suit your daily life.
- Temperature and weather forecast
- Leading news headlines
- Appoint Shortcut Google Calendar
- Maps and Traffic
- Fitness and health Information
- The control of smart home devices
- Motivating messages and reminders
World clock and live time
Installation of these modules is simple. They all come with instructions. You paste them in your config file.
Premium Accessories to Your Smart Mirror
You can transform your mirror into a smart mirror. Add sensors. Add cameras. Integrate it with home automation instruments.
Voice Control
Install SDK Google Assistant. Now you can speak to your mirror. Interrogate it. Set reminders. Control lights. Play music. It provides convenience and coolness.
Face Recognition
Insert a USB camera. A facial recognition module is to be used. Custom per-user info is now displayed in your mirror. It identifies relatives. Every individual observes his/her widgets.
Motion Detection
It is a PIR sensor. When one enters the room, the mirror awakes. It switches off when idle. It conserves energy. It has a futuristic feel.
Smart Home Hub
Connect your mirror to other appliances such as thermostats or lights. Utilise open-source systems such as Home Assistant. Manage them in your mirror. Rear view live status. Adjust settings. It is your control panel.
Tricks of styling and decoration
Estimated Cost of Building a Smart Mirror
The total cost depends on what you already own. Reusing parts saves a lot.
| Item | Approximate Cost (USD) |
|---|---|
| Raspberry Pi | $35 to $50 |
| Monitor | $0 to $40 |
| Two-way mirror glass | $20 to $50 |
| Frame and materials | $15 to $30 |
| Cables and extras | $10 to $15 |
Total Estimated Cost: $80 to $185
Buying a smart mirror of similar quality costs $300 to $1000.
✅ Pros and ❌ Cons of Building Your Own Smart Mirror
| ✅ Pros | ❌ Cons |
|---|---|
| Save money on hardware | Takes time to build |
| Fully customizable features | Requires some basic tech setup |
| Learn Raspberry Pi and coding basics | Frame making needs tools |
| Add new modules anytime | Software updates required |
| Control smart home from one place | May not match commercial polish |
Internal Link: Explore More Smart DIYs
Want more smart gadgets or software tweaks? Visit ProTechLevel to read helpful DIY guides and mod tutorials.
The Frequently-Asked Questions
Is it possible to create a smart mirror without coding?
Yes. MagicMirror 2 employs plain files. You simply switch around words. Follow tutorials. The majority of people work out without having experienced one coding.
Does the smart mirror have waterproof abilities?
No. You can seal the frame, however. Use water-tight materials. Expose the power board to a dry area. Protect it against steam.
Can I use my old monitor?
Yes. As far as it has HDMI or VGA. Take the casing off. assure that it can be fitted in the frame. Before final build test it.
Is the mirror available offline?
Yes. Basic features are on-line free. Show clock and local characteristics. Online modules are the only ones that require Wi-Fi.
Is this mirror Alexa-compatible?
Yes. Amazon Alexa can be installed to Raspberry Pi. Incorporate microphone and speaker. Voice command to control other devices.
In a glance, Key Benefits include the following:
- Complete design control
- Get to know something new
- Save money using old parts
- Wow your visitors
- Make it an intelligent hub
- Simple to upgrade
- Environmentally friendly and innovative
Final Thoughts
It is enjoyable to create your own smart mirror. It sets you free. You select the size. You make the choices. You save money. You are taught technological know-how. And best of all? You have something that makes your life better. A DIY smart mirror is a large-scale impression whether you prefer it on your bedroom or in your bathroom.
Just once, give it a try. You will not hate the process and will love the outcome.